A Beginners Guide to Fake Tanning
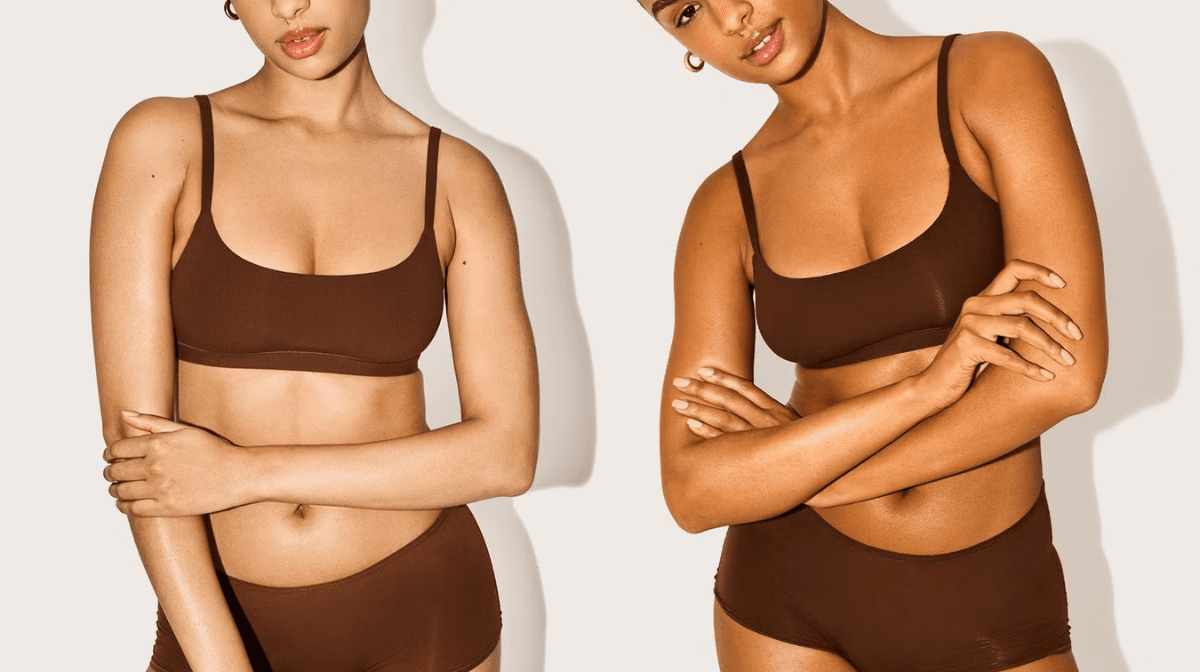
Whether you’re a fake tan newbie or just need some handy tips to up your tanning skills, we’ve created a step-by-step guide on how to self-tan so you can achieve sun-kissed skin as well as our top tips for a seamless, streak-free glow.
6 steps for a perfect self-tan routine
Step 1: Find your self-tanner match
First, you should decide on the type of tan you want to apply. If this is your first time tanning, you may want to opt for a gradual self-tan like the Tan-Luxe x Paris Hilton The Future Airbrush 360 Self-Tan Mist for subtle and natural colour change.
If you’re feeling a little more adventurous and want a stronger and deeper-looking tan, then we recommend choosing a dark glowing self-tan like the Tanologist Extra Dark Mousse .
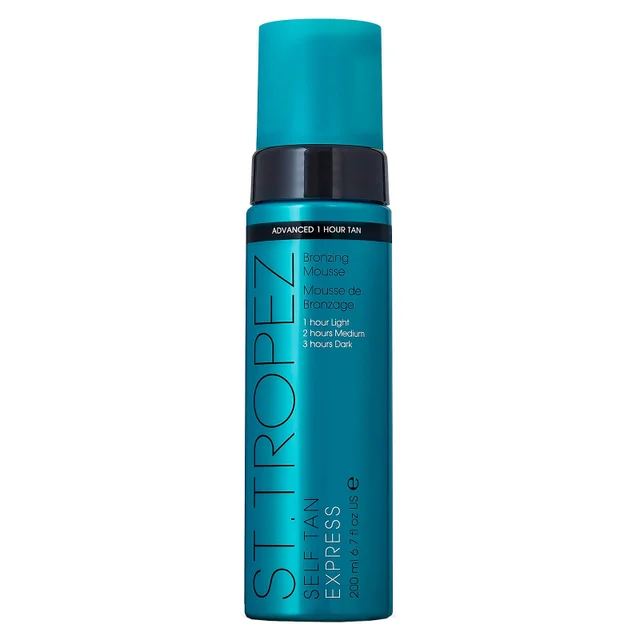
For different options of how dark to go, the St Tropez Self-Tan Express Advanced Bronzing Mousse gives you full control. Leave it on for 1 hour for a sun-kissed effect, 2 hours for a golden glow, or 3 hours for a deep, dark bronze colour.
Step 2: Exfoliate
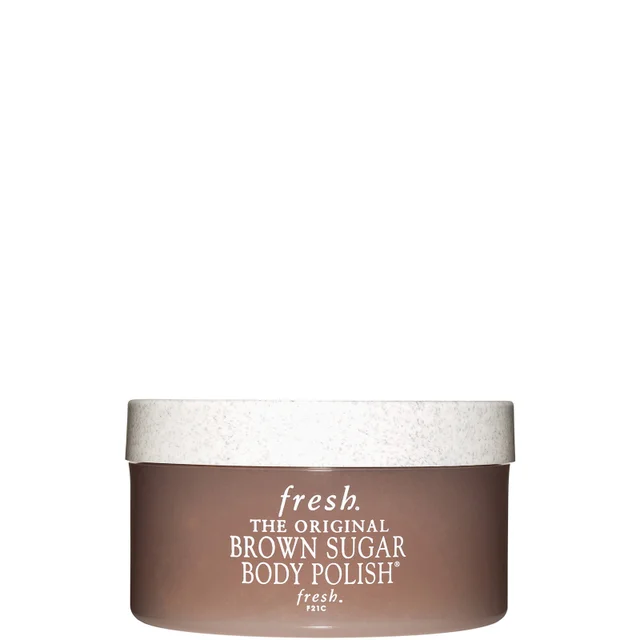
Before you apply any tanning products, it’s really important to exfoliate. We recommend doing this 24 hours prior to tanning. Not only will this get rid of dead skin, but it will also create the perfect base for your chosen tanning products. When exfoliating, it’s really important to pay extra attention to those really dry areas like your feet, ankles, elbows and knees. If you have any other areas that are super dry, make sure to exfoliate them as well.
For the best results, we like to alternate between using a gentle but effective scrub like the
Step 3: Moisturise
After exfoliating, it’s crucial that you apply plenty of moisturiser. Fake tan will annoyingly will cling to any dry areas, so you want to make sure you are well-hydrated beforehand. It’s really important to go over and moisturise those dry areas, making sure to leave at least 2-3 hours before tanning, as you could prevent the tan from adhering to the skin.
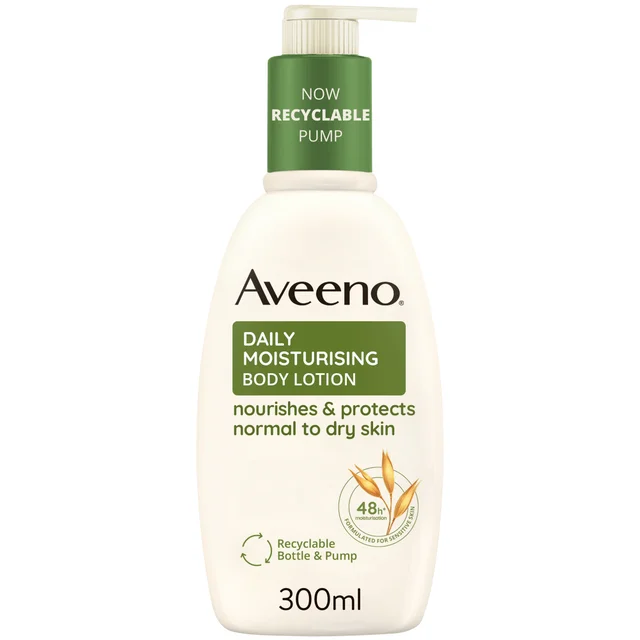
We love the Aveeno Daily Moisturising Lotion for a rich and creamy feeling, hardworking moisturiser that really replenishes hydration and softens the skin. It also creates the perfect, even base for applying your tan smoothly and patch-free.
Step 4: Apply your tan
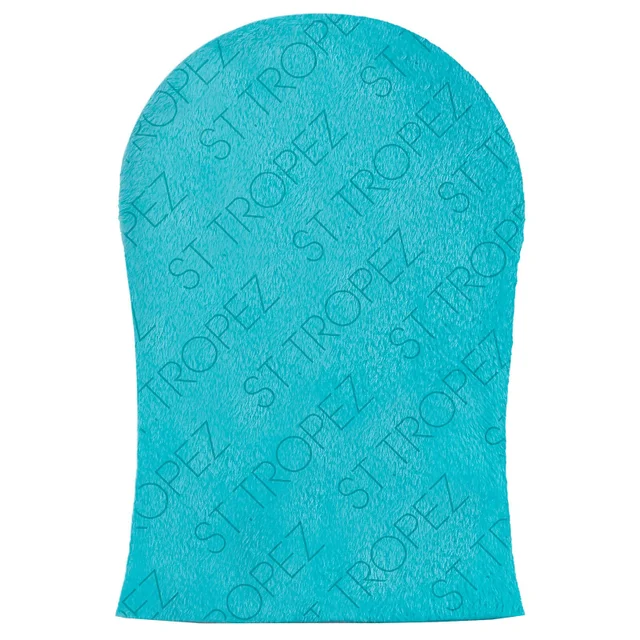
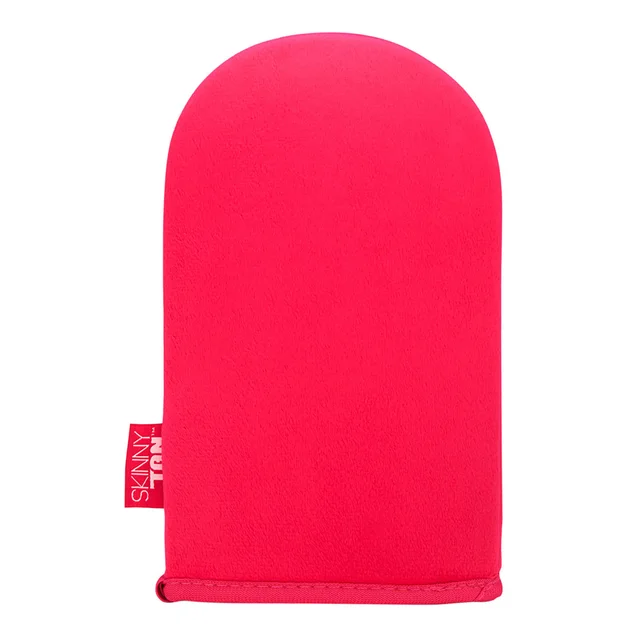
When applying, we suggest using a tanning mitt like the St. Tropez Tan Dual Sided Luxe Tan Applicator Mitt to ensure that your hands stay protected from any unwanted orange palms. Using a mitt ensures that the tan application is as smooth and easy as possible. For fool-proof application, it is best to start from the bottom up. Start with the shins, applying in circular motions and adding more product as required.
Applying methodically helps make sure you don't miss any patches. Just be careful around the hands and feet; the best way to avoid orange streaks is to buff any leftover tan from the legs and arms lightly over these. Less is definitely more. As for the back, it really is best to ask someone to give you a hand with getting it all covered.
Step 5: Maintain
Now you have got yourself bronzed and beautiful, the trick is keeping it even and long-lasting. The main way to keep tan fading evenly is to keep exfoliating gently and moisturising. This will also help keep your skin in tip top condition if you want to top up your tan again in a few days.
To boost your glow, we also love using body oils like the NUXE Huile Prodigieuse Golden Shimmer Multi Usage Dry Oil. It makes limbs looking silky smooth and beautifully bronzed, perfect before a night out.
Step 6: Remove
When your tan does eventually start to fade or it's time to repeat the process all over again, remove your tan properly using a tan remover such as the Isle of Paradise Over it Magic Self-Tan Eraser. The vitamin enriched formula, gently chemically exfoliates the skin to remove all tan and dead skin, allowing you to start from fresh. The formula doesn't dry out the skin and contains a nourishing blend of Avocado and Coconut Oil to maintain moisture levels.
Dos & don'ts for a streak-free application
If you struggle to get your tan streak free and perfect, you may be making some small mistakes which are affecting your glow:
Don't apply deodorant or perfume before tanning or while it develops. It can prevent the tan from adhering to the skin and may even turn some tans green. Doallow your fake tan to fully dry before dressing. When you do dress, stick to something that's loose and dark, so it doesn't rub against your skin or show any marks. It is best to apply in the evening and let tan develop overnight. This will give it the best amount of time to full develop (most tans need at least 4-6 hours). When you wash off your tan after it has developed, keep water slighter cooler than usual and resist the temptation to use scrubs or soap; it can fade your tan. Just rinse until the water runs clear. Hair removal should be done 24 hours prior to tanning. Fake tan is prone to sticking into those loosened pores, creating dark dots all over your skin which disrupts your tan often causing it to look patchy.

5 Myths About Fake Tan
Debunking the myths around fake tan. We're taking 5 common fake tan misconceptions and setting it straight when it comes to self-tan application.
Ever since I discovered makeup and tutorials from a young age, I have been completely in love! Makeup, for me, is more than just a look - it’s a feeling. I am obsessed with the process of applying my makeup, bringing a look together and feeling a whole new level of confidence. My makeup routines and looks have been on a transformative journey over the years but now my most favourite go-to look is glowy, natural and sun-kissed. The Iconic London Radiance Booster is the ultimate game-changer and a makeup must-have!


