Lilly Lashes guide to applying false lashes
Whether you've always been a devoted mascara wearer and are looking for that added volume, or just aren't sure if you're applying your lashes right, we have the clear step-by-step guide from Lilly Ghalichi, the founder of Lilly Lashes, that will make applying lashes easy and stress free so that you can achieve that fluttery look.
How to apply false lashes
https://www.youtube.com/watch?v=ABMZGoPakX8&feature=youtu.be
Step 1: Choose the Lashes you want to apply
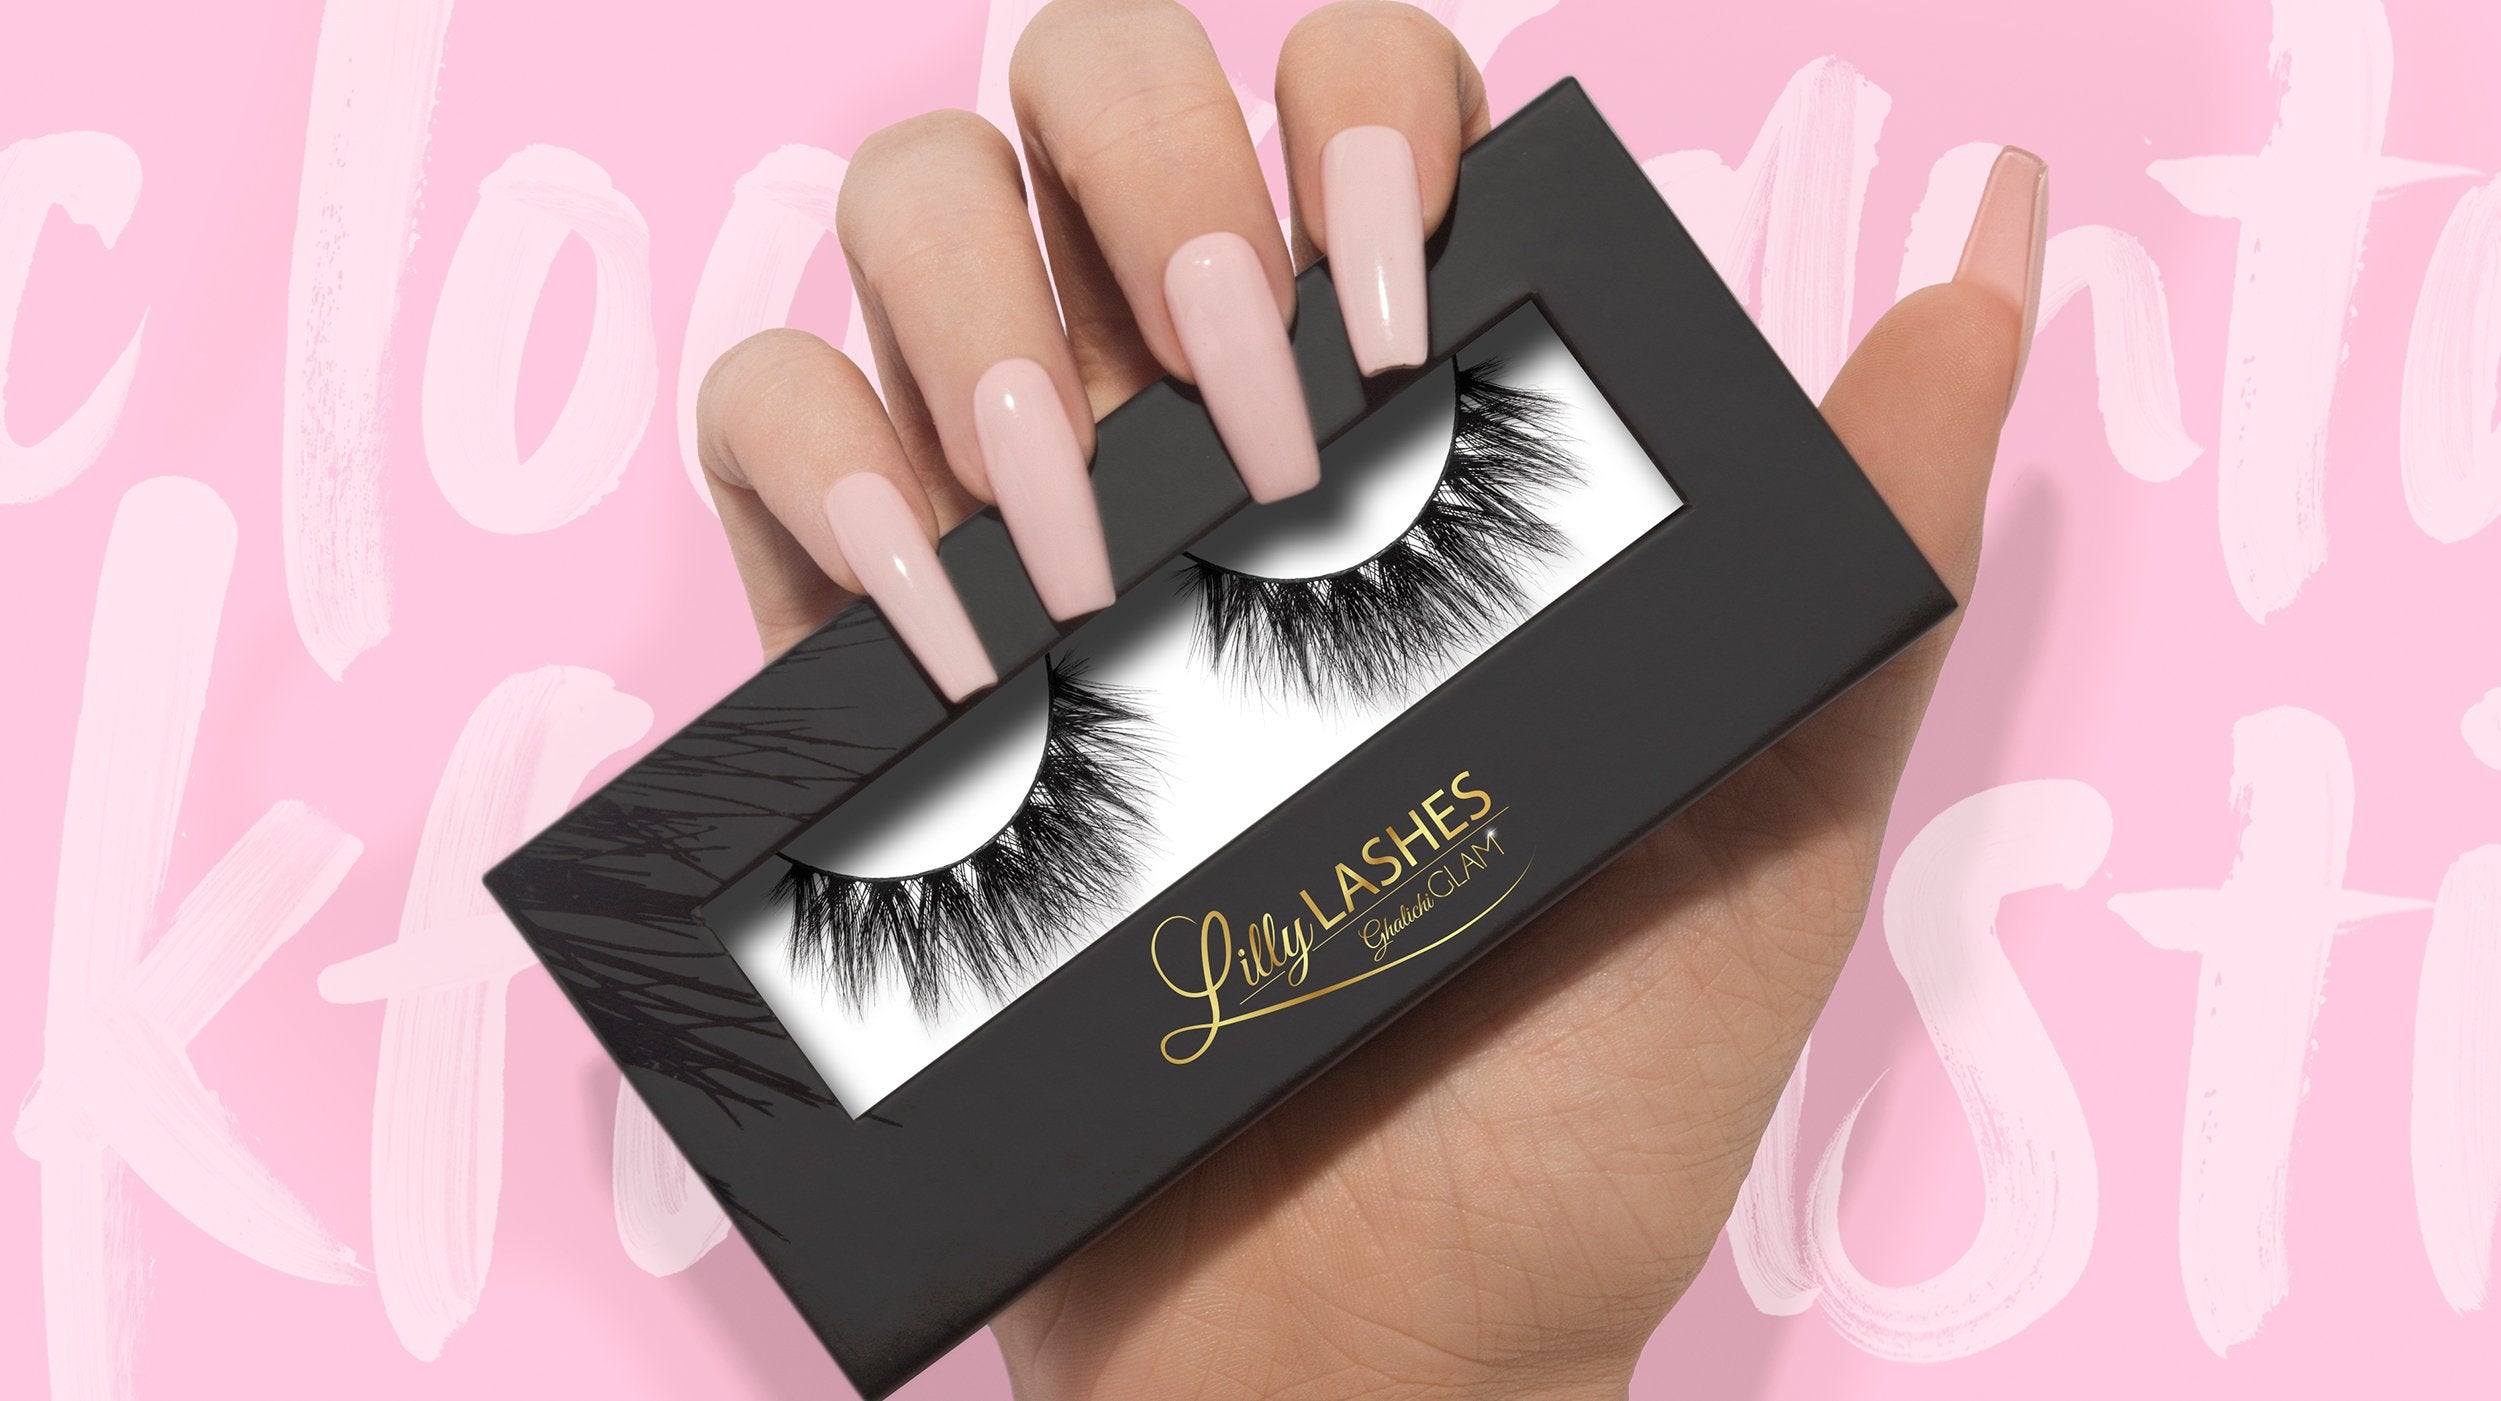
Whether you're looking for a thicker lash, more volume or just a natural looking boost, Lilly Lashes has the whole range of stunning handmade Lashes to suit any look. Lilly has opted for their Lilly Lashes in style Miami to create her glam style.

£18.00

£30.00

Recommended Retail Price: £18.00Current price: £10.80
Step 2: Carefully remove the Lashes from the tray
Lilly's pro tip: Never pull on the end of the lashes! To release your lashes from the tray always pick them up using the corner of the band and be gentle. As all Lilly Lashes are handmade and extremely delicate, just like natural lashes, pulling at the hairs of the Lashes may cause them to come off the band.

£22.00
Step 3: Pick up your lashes with a pair of tweezers
Again, holding them by the band, position your lashes in your tweezers so that you can easily access the lengths to trim in step 4.

£13.00
Step 4: Trim your lashes
Lilly Lashes are designed to fit any lashes or eye shape so are made long enough to cover all. Therefore, you may need to trim your lashes to fit you; leaving them too long could make your eyes look closed or smaller. To trim, put the lashes up to your eyelid to get a sense of how much needs to be cut off. Using your Lilly Lashes Lash Scissors, begin cutting your lashes from the outer corner - this helps to keep the shape of the lash.

£13.00
Step 5: Apply your Lash glue to the base of your Lashes
Apply a thin layer of your Lilly Lashes Lash glue to the base of your lashes that will stick to your eyes. Before you go ahead with step 6, allow at least 60 seconds to give the clue time to semi-dry and become slightly tacky. This will ensure that when you apply it to your eye lid that it will stay put. Check out our guide on the best lash glues.
Recommended Retail Price: £18.00Current price: £10.80

£28.00
Step 6: Apply the Lashes to your eye
Gently press the glued base of your lashes onto your lash line from corner to corner, gently using either you finger or tweezers to apply slight pressure so that the Lilly Lashes bond to your real ones to give a natural, fuller look. Lilly Lashes are all expertly curled for that long and bended shape, however if you do want to add more curl to your look, use the Lilly Lashes Eyelash Curler.
Pro tip: Never wet your lashes! Adding water or oil can seriously damage the shape and texture of the lash (just like going out in the rain with perfectly blow dried hair), so make sure to remove your lashes before cleansing. If you do want to clean your lashes, use a dry, clean mascara spoolie to gently brush through the hairs.

Recommended Retail Price: £16.00Current price: £9.60
Step 7: Repeat
Repeat the process on your other eye so that you are left with the perfect pair of fluttering, gorgeous lashes!
When you've done with your lashes, no need to throw them away! Lilly Lashes are reusable up to 25 times and each come with a high quality lash storage case that protects your lashes until your next wear. The case fits perfectly in your handbag or makeup bag so that you can keep them at the ready for reapplying.
Discover more of Lilly's top tips here
https://www.youtube.com/watch?v=keQN671nafI&feature=youtu.be
Shop all Lilly Lashes on LOOKFANTASTIC.
Working with brands at LOOKFANTASTIC for over two years I have developed my knowledge of all things beauty from key skincare concerns to niche makeup tricks and haircare hacks. I have a major passion for finding effective solutions that are easily accessible to everyone so that we can all achieve our best, glowing complexion.