DIY Halloween Nail Art

It's spooky season which means it's time to unleash your creative side! Though we may not be going out this Halloween, nails are always a must! We have the step by step guide from nail experts, and winners of The Sunday Times Style Beauty Award 2020, OPI on how to create this stunning dripping glitter nail art look; so beautiful it's scary!
What you will need:
Before you get started, assemble your tools. To make sure you're not running back and forth or risking smudging your hard work, have everything set up on your own home manicure station for the most efficient process.
Infinite Shine ProStay Primer & Infinite Shine ProStay Gloss
Prime and prep your nails to keep them strong and healthy and prevent chipping by using the Infinite Shine ProStay Primer that nourishes the nails and provides a solid base for your creation. The Infinite Shine ProStay Gloss also works to lock in your colour to guard against chipping or smudging.
Muse of Milan Collection Infinite Shine Long Wear System - Leonardo’s Model Colour
This stunning sparkly, metallic polish is perfect for a Halloween ready base that won't disappoint. Made with the brands 3-step shine system, the polish will glisten under the light of your lanterns!
Muse of Milan Collection Infinite Shine Long Wear System - Complimentary Wine
A top pick for perfecting that dripping look, the Complementary wine shade is a deep bloody tone that will subtly contrast against the Infinite Shine Long Wear System - Leonardo’s Model Colour.
Nail art brush or very fine makeup brush
You will need this to create the drip effects, so pick a brush that you can comfortably hold that will allow you to keep a steady hand.
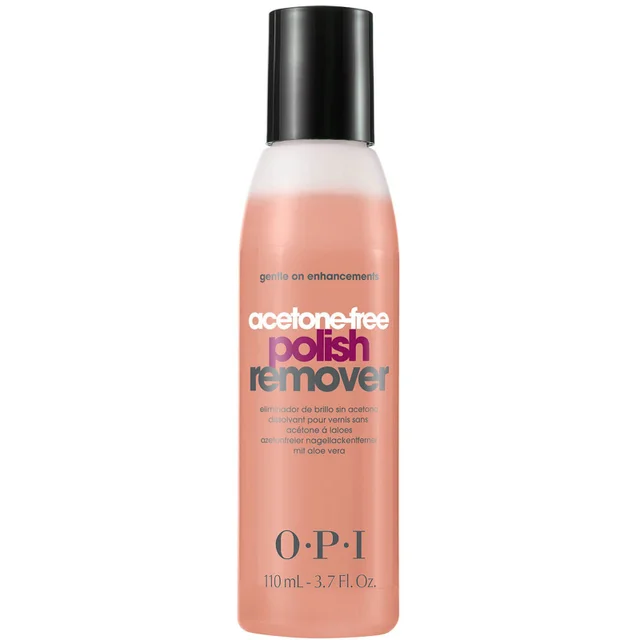
Acetone-Free Nail Polish Remover
Nail painting isn't always mess free, so if you do go onto the skin keep a bottle of Nail Polish Remover and a cotton bud handy to easily go round and remove any mistakes.
How to create dripping glitter nails
Step 1:
Apply one coat of your Infinite Shine ProStay Primer to each nail to solidify your base and create an even surface for your colour to be applied onto. Let the primer dry completely before moving on to step 2.
Step 2:
Apply two coats of the Leonardo's Model Colour Polish using sweeping strokes from the cuticle to the tip of the nail. Make sure to let each coat dry completely to avoid any smudging or bumpiness in texture.
Step 3:
Apply a french tip (just across the tip of the nail from edge to edge) of the Complimentary Wine to create a raised base for your dripping look to sit on. Don't worry if you're not able to create a super accurate French tip; a more rough coat makes the look more authentic.
Step 4:
Using your nail art brush, use the Complimentary Wine shade to paint on tear drops starting from further down the nail and brushing upwards towards the French tip. For that added detail, add a drop separated from the drips for a splashed effect. Let your drops dry completely before moving on to step 5.
Step 5:
Seal your look with the Infinite Shine ProStay Gloss that works to prevent chips and smudging to keep your tear drops in place.
Step 6:
Tidy up any polish on the skin around the nails using your Acetone-Free Nail Polish Remover to create a professional and accurate manicure.
Shop all OPI Nail Products on LOOKFANTASTIC.
Working with brands at LOOKFANTASTIC for over two years I have developed my knowledge of all things beauty from key skincare concerns to niche makeup tricks and haircare hacks. I have a major passion for finding effective solutions that are easily accessible to everyone so that we can all achieve our best, glowing complexion.


