The Ultimate Makeup Brush Guide
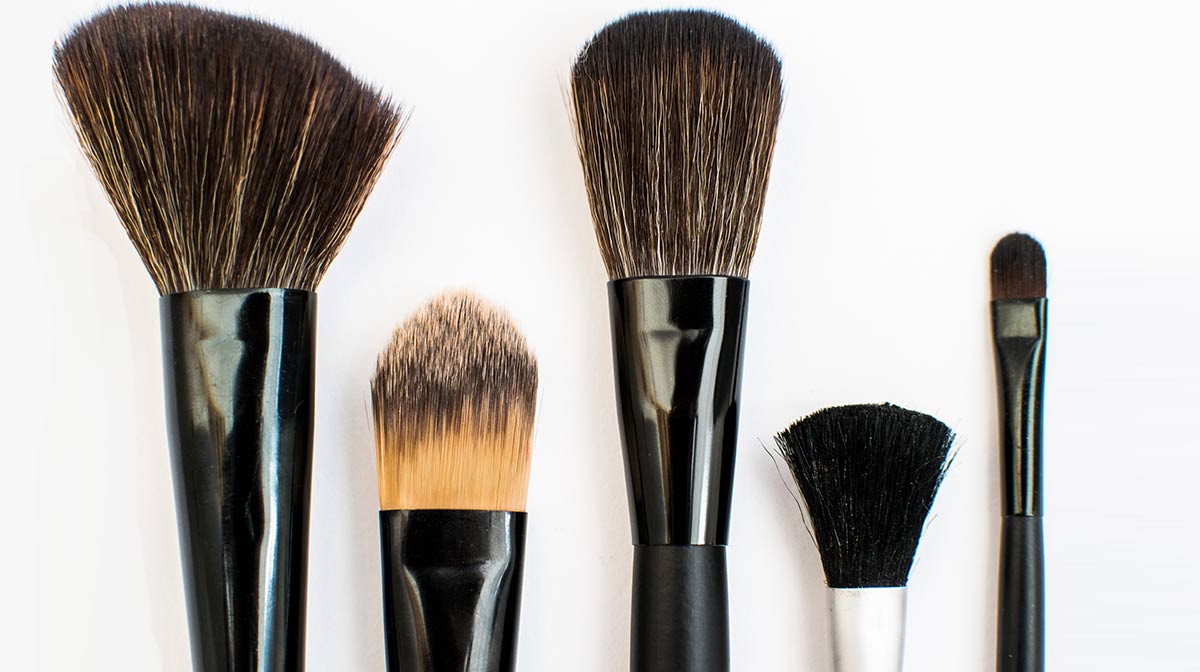
Everyone loves a makeup brush and they are something that you hear makeup artists and bloggers talking about all the time. However, knowing which brush is meant for what can be a little confusing, so we're breaking it down. Discover all the different types of makeup brushes, and how they work best, with our ultimate makeup brush guide.
Face Brushes
There are a whole host of different shape and size brushes for different face makeup, from those best for mineral foundations, to those great for contouring. These are some of the most popular styles.
Foundation Brush
What it looks like: Broad and fairly flat, with a rounded tip and springy fibres.
What it is good for: Applying liquid foundations over the face into the contours of the nose and eye sockets.
How to use it: Dab foundation onto the face first the then use the brush to blend out, from the centre of the face outwards.

£11.95

Recommended Retail Price: £6.99Current price: £3.50
Powder Brush
What it looks like: A big fluffy brush, usually with a slightly rounded top.
What it is good for: Any powder products over the face, but usually perfect as a finishing step to set your makeup with translucent powder all over the face.
How to use it: For setting makeup, tap over the face. For adding blush or bronzer powders, swirl onto the cheeks and over the temples.
Kabuki Brush
What it looks like: A large, densely packed brush with rounded bristles.
What it is good for: Powder makeup and especially mineral foundations.
How to use it: It is perfect for swirling onto the face in circular motions when applying any powder makeup, to give a flawless full coverage finish.

Recommended Retail Price: £66.00Current price: £59.40
Stippling Brush
What it looks like: Densely packed bristles, usually with a duo-fiber bristles.
What it is good for: Applying foundation or cream products for an airbrush finish.
How to use it: Dot and buff in product with circular motions.

£9.99
Blush Brush
What it looks like: Fluffy and tapered, smaller than most powder brushes.
What it is good for: Applying powder blush to the cheeks and blending out.
How to use it: Swirl into blush, tap off any excess and then swirl onto the cheeks. Where you apply can give a different look so check out our blush guide too.

£33.00
Contour Brush
What it looks like: Fluffy with an angled tip.
What it is good for: Applying powder bronzers or contour powders along the hollows of the cheeks.
How to use it: In sweeping strokes just under the cheekbones, and then up over the temples and under the jaw to define the face.

£26.00

£15.25
Concealer Brush
What it looks like: Firm, flat and tapered at the top.
What it is good for: Targeted concealer application
How to use it: Dab concealer onto any problem areas, stippling out over the edges to blend without taking away coverage.

Recommended Retail Price: £20.00Current price: £10.00
Fan Brush
What it looks like: Just like a fan, with wide flared out bristles.
What it is good for: Cleaning off excess powder or eyeshadow under the eyes. Also amazing for applying powder blush, contour or highlighter along the cheeks.
How to use it: Lightly dust over the face in a back and forth motion.

£34.50
Eye and Lip Brushes
Whether you want to master a beautifully blended smokey eye, draw on a delicate flick of liner or get a perfect pout, these specialised brushes are what you need.
Eyeshadow brush
What it looks like: Soft, tapered bristles that are quite tightly packed.
What it is good for: Applying eyeshadow with proper precision, into the crease and over the lids.
How to use it: Perfect for cream or powder shadows, just sweep all over the lids.

£7.60
Blending brush
What it looks like: A large, fluffy eyeshadow brush, with a slight point to the tip.
What it is good for: Blending all your shadows together to prevent hard edges or rough lines.
How to use it: Make sure it is clean every time you use. Softly swirl it over the eyes, into the crease and over any edges to soften any harsh lines.
Smudging brush
What it looks like: Soft, small bristles with a rounded top
What it is good for: Smudging out eyeliner and shadow along the crease
How to use it: If you're using a gel liner, quickly smudge the bristles along it after applying, in small circular motions.

Recommended Retail Price: £20.00Current price: £10.00
Angled Liner Brush
What it looks like: Small and flat with an angled top.
What it is good for: Applying gel liner or eyeshadow along the lash line.
How to use it: Dip into your product and and sweep along the lash line. Turn brush so that the angle is always right for both eyes.
Fine Liner Brush
What it looks like: With a fine, pointed tip.
What it is good for: Fine precision lining with liquid and gel eyeliners.
How to use it: Dip into product before lining along the lashes in delicate strokes.

£12.60
Lip Brush
What it looks like: Small and fine with a squared off tip.
What it is good for: Giving a really defined line to the edge of your lipstick.
How to use it: Dip into a lipstick to coat the brush with colour, swipe over the back off your hand to get off any excess before using it to line the edge of the lips and then fill them in.

£22.00

£16.00
Brow Brush
What it looks like: Small with firm, densly packed bristles that are angled.
What it is good for: For filling in brows with gels or powder products.
How to use it: Dip into powder or gel and apply in small, fine strokes onto the brows.

£13.00

Major fan of scented candles, Make Up brushes and Highlighter. I’m always on the hunt for those Holy Grail products and my dressing table is covered in more beauty products than I like to admit. As an adopted Northerner originally from Brighton, I spend most my days wondering what all this rain is about. My hair isn’t grateful for the move. Currently loving: NIOD Photography Fluid