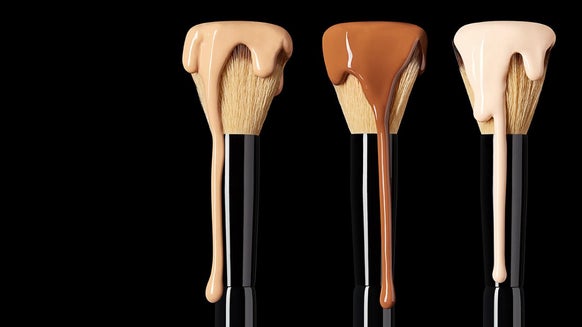
How to clean your makeup brushes
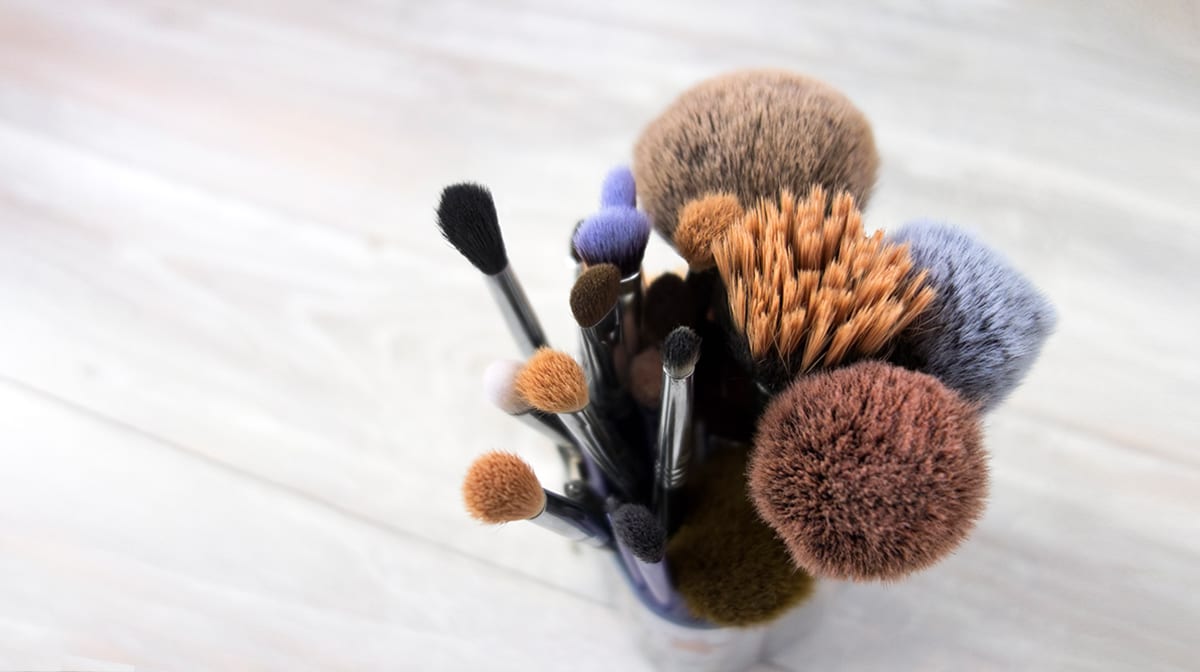
Cleaning your makeup brushes thoroughly and frequently is essential if you hope to create perfect, flawless beauty looks and keep your skin clear and radiant.
The importance of cleansing your makeup brushes cannot be emphasised enough. Packed with left over product and impurities, a brush that has not been cleansed properly in an extended period of time can harbour bacteria which can negatively effect on your skin, leading to blemishes and imperfections.
Makeup artists and skin experts alike recommend that we should be cleaning our makeup brushes at least once a week in order to keep our skin clear and enhance the performance of our brushes.
Whether you're new to cleaning your makeup brushes or need a few tips and tricks, we've compiled a step by step guide to help you keep your brushes thoroughly clean and in top condition.
How to clean makeup brushes: Step by step
Step 1: Wet your brushes
First of all, the first step in most cleaning routines, run your brushes under lukewarm water, facing the head of the brush downwards. This will loosen the dirt and impurities and preps your brushes for the next step.
Step 2: Pick a makeup brush cleaner
With many products now on the market specifically for cleaning brushes, there's no need to resort to concoctions of dish soap and vinegar that you may have previously heard. ISOCLEAN offer a range of expertly formulated anti-bacterial brush cleansers that are easy to use and leave your brushes soft and clean.

£17.00
Step 3: Swirl
Using either the palm of your hand or a cleaning tool such as the Real Techniques Brush Cleansing Palette, swirl the bristles of your brush in the soap in gentle circular motions. This works to dislodge any stubborn build up and allows the brush cleaner to get thoroughly into the bristles. Continue to swirl your brush in the cleanser until all makeup colour has come out of the bristles.

£3.99

Recommended Retail Price: £8.99Current price: £7.19
Step 4: Rinse
Rinse all soap and excess product out of your brush under lukewarm water. Use your fingers to separate the bristles slightly to ensure that all product and cleanser is rinsed out completely to allow your brushes to dry softly and back to their original condition.
Step 5: Repeat
If you can still see product in your brushes or you have left it perhaps a little too long since your last clean, repeat steps 3 and 4 to make sure your brushes are left squeaky clean.
If you need a little bit of help with the cleaning process, StylPro offer a range of kits specifically designed to professionally clean your brushes. Their Original Make Up Brush Cleaner and Dryer comes with an unbreakable bowl and 8 flexible silicone collars to take the chore out of cleaning your brushes and avoid any splashes or spills. The device dries your brushes after cleaning in just 30 seconds, perfect for when you need to use them the same day!

£29.99

£39.99
Step 6: Squeeze
Rid the bristles of any excess water by squeezing moisture on to a clean towel. Remember to be gentle with your brushes and don't rub to avoid harming the shape.
Step 7: Reshape
Reshape your brushes into their original shape using your hands. This is important to make sure that your brushes dry in their correct and most effective form so that they are perfectly prepped for makeup application.
Step 8: Dry
The easy part of the process; leave your brushes to dry! Either leave them on a flat surface or stood with the bristles up, or use the Sigma Beauty Dry'n Shape Spa. The expertly created device ensures that you can easily squeeze each brush into its original shape and holds it perfectly until dry.

Recommended Retail Price: £49.31Current price: £14.79

Our team of beauty experts cover everything from makeup to skincare, picking out the most effective products from the best brands and latest trends. Stay up to date on everything beauty with the LOOKFANTASTIC blog, and find all your essentials in one place.