How to get salon-worthy brows at home
Whether you prefer fluffy, arched, tinted or plucked, brows play a huge role in shaping the face. The recent trends have given us a variety of stunning styles to try... From laminated to natural and bold, here’s how to achieve four of the most popular brow looks:
Laminated Brows
Want that sleek, brushed-up look with a glossy finish? Perfect for those with unruly or sparse brows, this style gives you the fluffy, feathered look that's everywhere on social media. The result? Defined, long-lasting, and polished brows without needing daily maintenance.
Apply a brow glue or setting gel before using a spoolie to brush brows upwards. Then, use brow pencil to fill sparse areas and seal with a brow topcoat or clear gel.

Recommended Retail Price: £18.00Current price: £3.60

£10.00
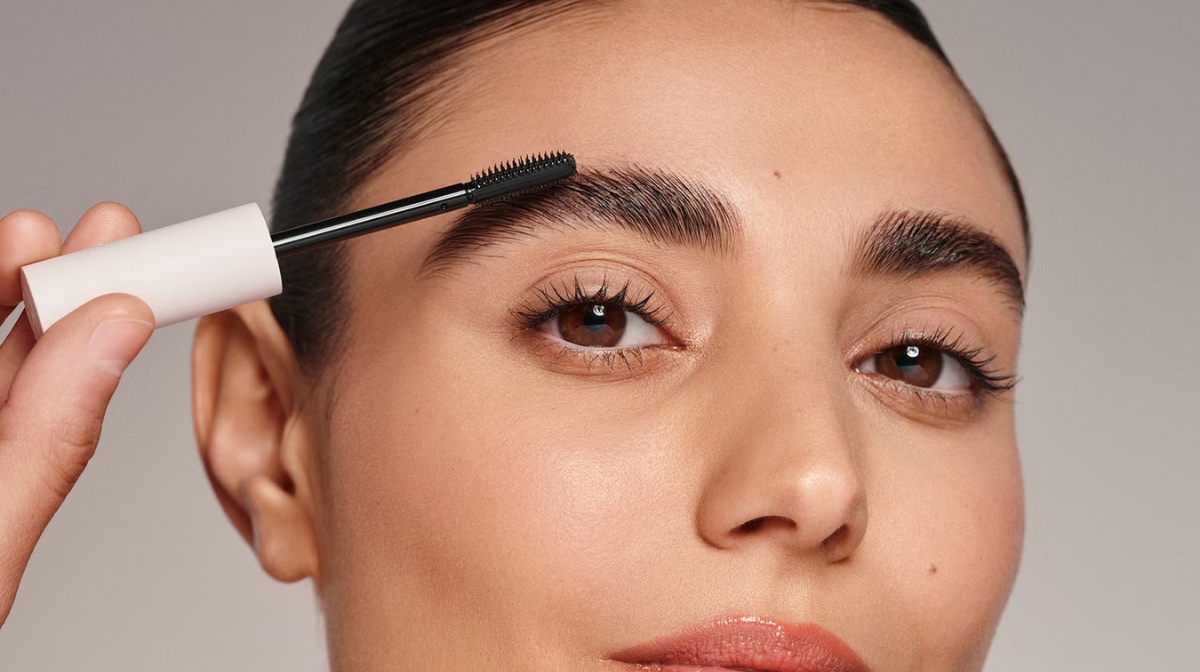
Au Natural/Fluffy Brows
All about embracing the natural texture of your brows, this look focuses on fullness and softness, giving a more effortless, undone vibe. Perfect for those who love a fresh-faced, low-maintenance look, this trend is all about enhancing your natural beauty rather than reshaping or overly defining the brows.
Brush brows upwards using a spoolie and use a brow pencil to lightly define your natural brow line. Apply clear or tinted brow gel for a fluffy, textured finish.

£24.00

£14.20
Straight/Fox Brows
Working especially well for people with naturally straight or slightly arched brows, this style pairs beautifully with minimal eye makeup for an effortless, chic vibe. By elongating the brow tail in a straight, upward direction, this look mimics the effect of a subtle brow lift, creating a youthful and foxy appearance. It's a great option for those wanting a more refined, cat-eye effect without heavy makeup.
Trim the natural arch to make brows appear straighter before using a pencil or powder to draw a straight line from the inner to outer edge. Brush upwards with gel for a lifted look.

£26.00

My large family of mainly women has made me passionate about all things beauty from a young age: from routines passed down from my grandmother, to trying the latest products and trends. After training as an MUA at MAC Cosmetics, my love for makeup has now evolved into making sure my skincare creates the perfect canvas for any look. I love anything that can make my base feel fresh & bright while accentuating my features – Bobbi Brown's Face Base is my holy grail at the moment!