How to tint your eyebrows like a professional
[updated 24/7/2025]
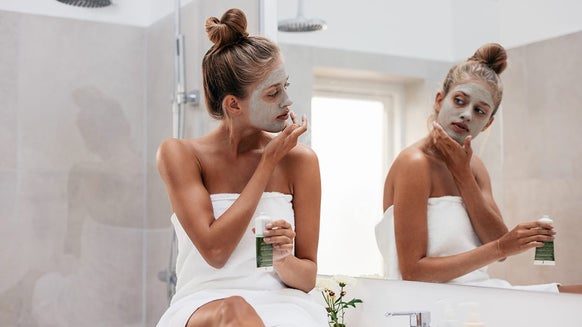
Especially helpful in the summer months, brow tinting offers a more permanent solution to creating bolder, fuller and more defined brows that won't wash away when you take your makeup off. However, going to the salon every few weeks has it's obvious financial drawbacks. We're here to talk you through the most foolproof way to tint your brows, for salon-like results from your bathroom sink.

Recommended Retail Price: £9.50Current price: £7.60

£9.99

Recommended Retail Price: £9.50Current price: £7.60
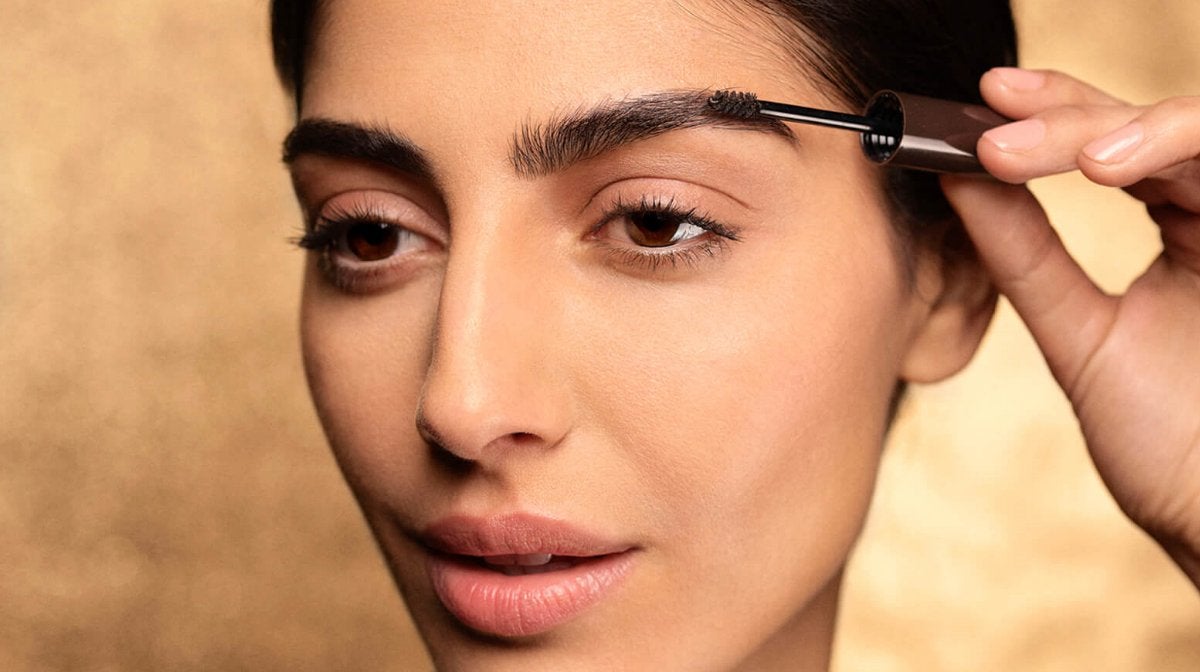
How to Tint Your Eyebrows at Home
Step 1: Patch Test
Easily THE most important step when using any form of dye, start by conducting a patch/sensitivity test to ensure that you are not allergic to any of the ingredients being used. Spead a little of the mixture behind the ear or inside the elbow.
"During the testing period, if you experience any reactions such as burning, swelling, redness or irritation around tested area, immediately cleanse the test area and do not proceed to use this product" advises the KISS team.
Step 2: Eyebrow Prep
Use an oil-free cleanser to remove any makeup and natural oils on your eyebrows, and dry.
If it is your first time at-home brow tinting, or you want to be extra careful, apply a petroleum jelly based formula to the skin surrounding the brows, ensuring this doesn't get onto the hairs and prevent the dye from working.
Step 3: Mix
Be sure to follow the package instructions very carefully - you're putting dye on your face!
Step 4: Application
"Be mindful of avoiding your eyes and surrounding skin as you apply the dye quickly." "Don’t be stingy; apply enough to completely coat all your brow hairs. If you get any on your skin during application, wipe off immediately with damp cotton". If the colour does remain on the skin, use witch hazel or astringent to remove this.
Step 5: Wait
Depending on your desired colour intensity, leave the dye on for between 1 to 5 minutes: light (1 minute), medium (3 minutes), dark (5 minutes). When finished, use damp cotton to gently remove the mixture from the eyebrows.
How to care for the brows after tinting
The key to keeping your colour vibrant for as long as possible: "avoid applying other products to your brows except brow gel or brow pencil." Use gentle cleansers and avoid your brows when shampooing.

Working with brands at LOOKFANTASTIC for over two years I have developed my knowledge of all things beauty from key skincare concerns to niche makeup tricks and haircare hacks. I have a major passion for finding effective solutions that are easily accessible to everyone so that we can all achieve our best, glowing complexion.